Feeds:
Posts
Comments

Archive for the ‘DIY Projects’ Category

Our beautiful bebe is just about to turn one. And, with two sets of friends leaving our neighbourhood and me about to find a killer full-time job, it feels like her birthday party will mark the end of an era.

An era of sleepless nights, afternoon naps, first smiles, first cuddles (even better!), picnics in the park, free Tuesday visits to the Brooklyn Botanical Gardens, and too many episodes of America’s Next Top Model.

So the party will have to be a momentous one. Which, of course, requires a fantastic party dress.

I’ve got quite into sewing since moving to New York. When I was pregnant, I spent the hottest July on record either waddling to the Red Hook Pool or sewing quilts for my nephew and niece, and a wall hanging for the bebe.

Then I made a dress for her first Christmas. Just like when I cook and browse a number of recipes for inspiration, when I sew I tend to use a number of blogs as inspiration and then make up my own pattern.

???????????????????????????????

For the Christmas dress, I used this bubble dress pattern from Prudent Baby for inspiration but ended up tracing around an existing top and just made the rest up. I don’t necessarily recommend this as I used up way too much fabric getting the shape right.

The fabric was Liberty Tana Lawn print and therefore probably more expensive than most sane people would spend to make a dress that would fit a doll.

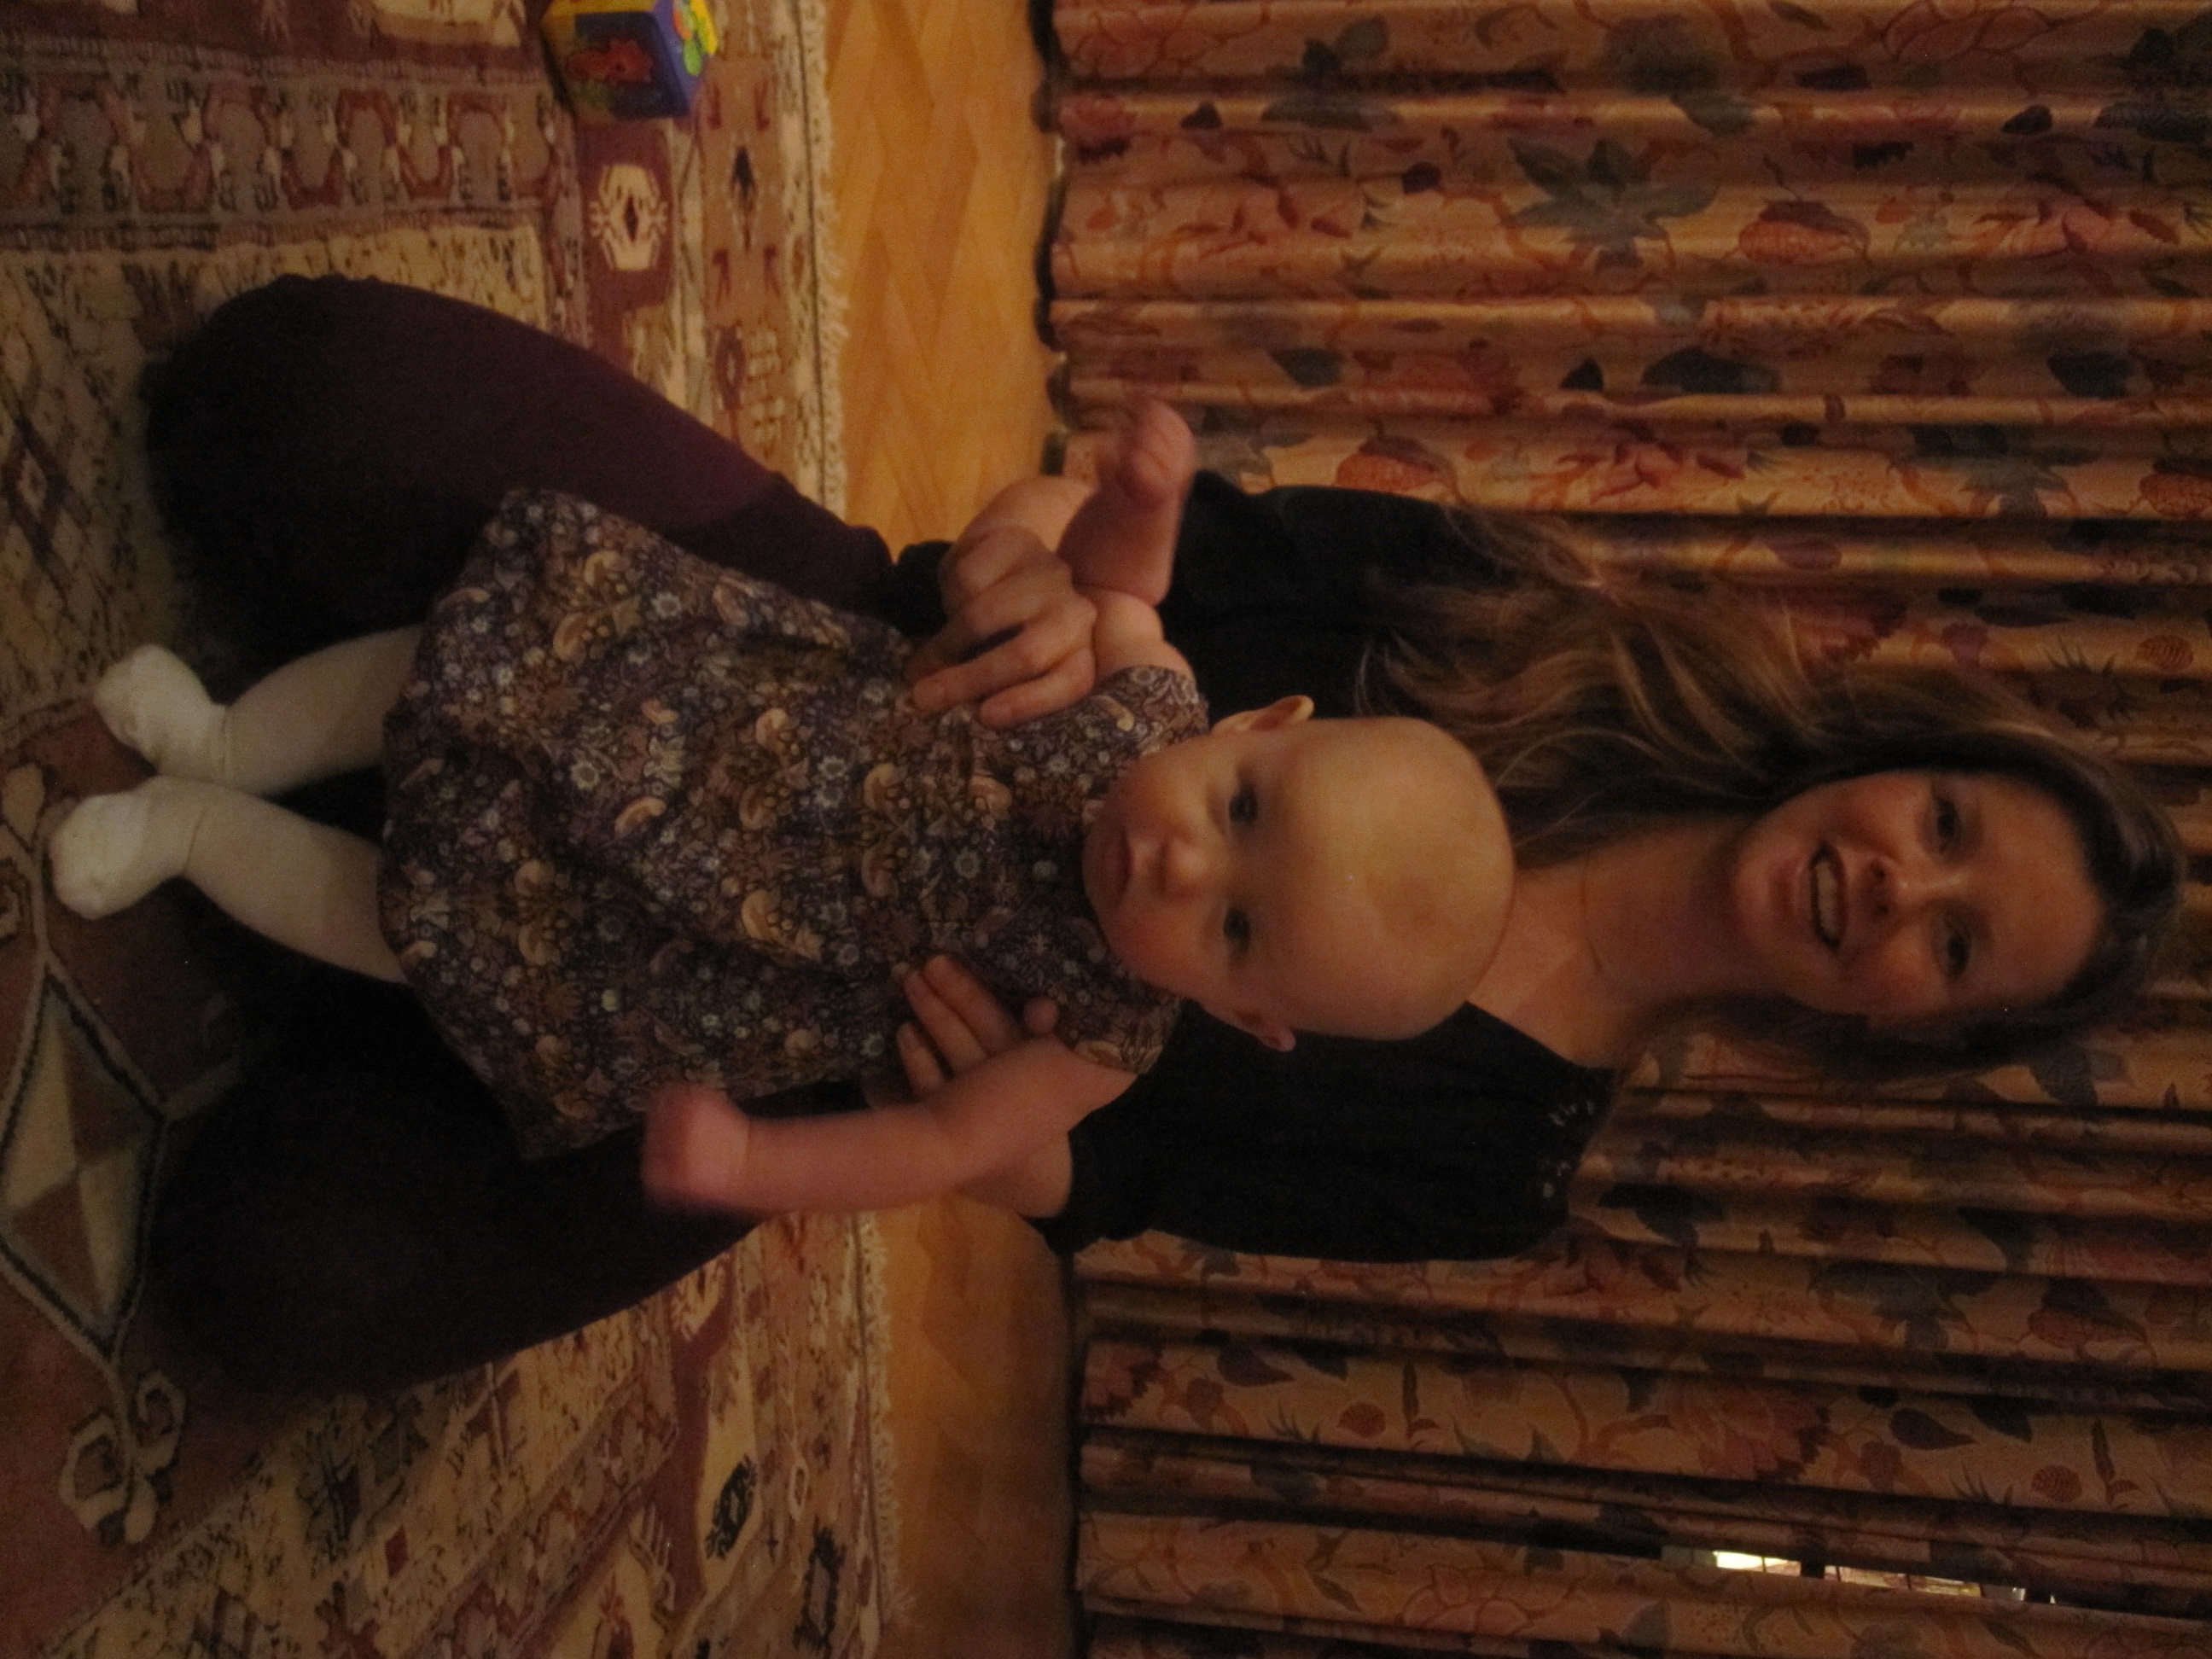
It was gorgeous though – the blue and gold reminded me of a Victorian chocolate box, and it’s covered with what I imagined were partridges and pear trees (I think they are actually strawberries, but never mind). And the dress was made to be something of an heirloom.

Strawberry Thief C Tana Lawn

Since then I’ve also made a bonnet from a pattern by one of my favourite sewing blogs Made by Rae. I made it to go with a very sweet dress I bought from the excellent vintage baby clothes shop Lulu’s Then and Now on 5th Avenue in Park Slope. 

The bonnet and dress were for my friend’s wedding in the Hamptons last week, but the bonnet was so useful (and she looked so cute in it), she wore it all weekend.

IMAG1219IMAG1225 IMAG1264IMAG1265

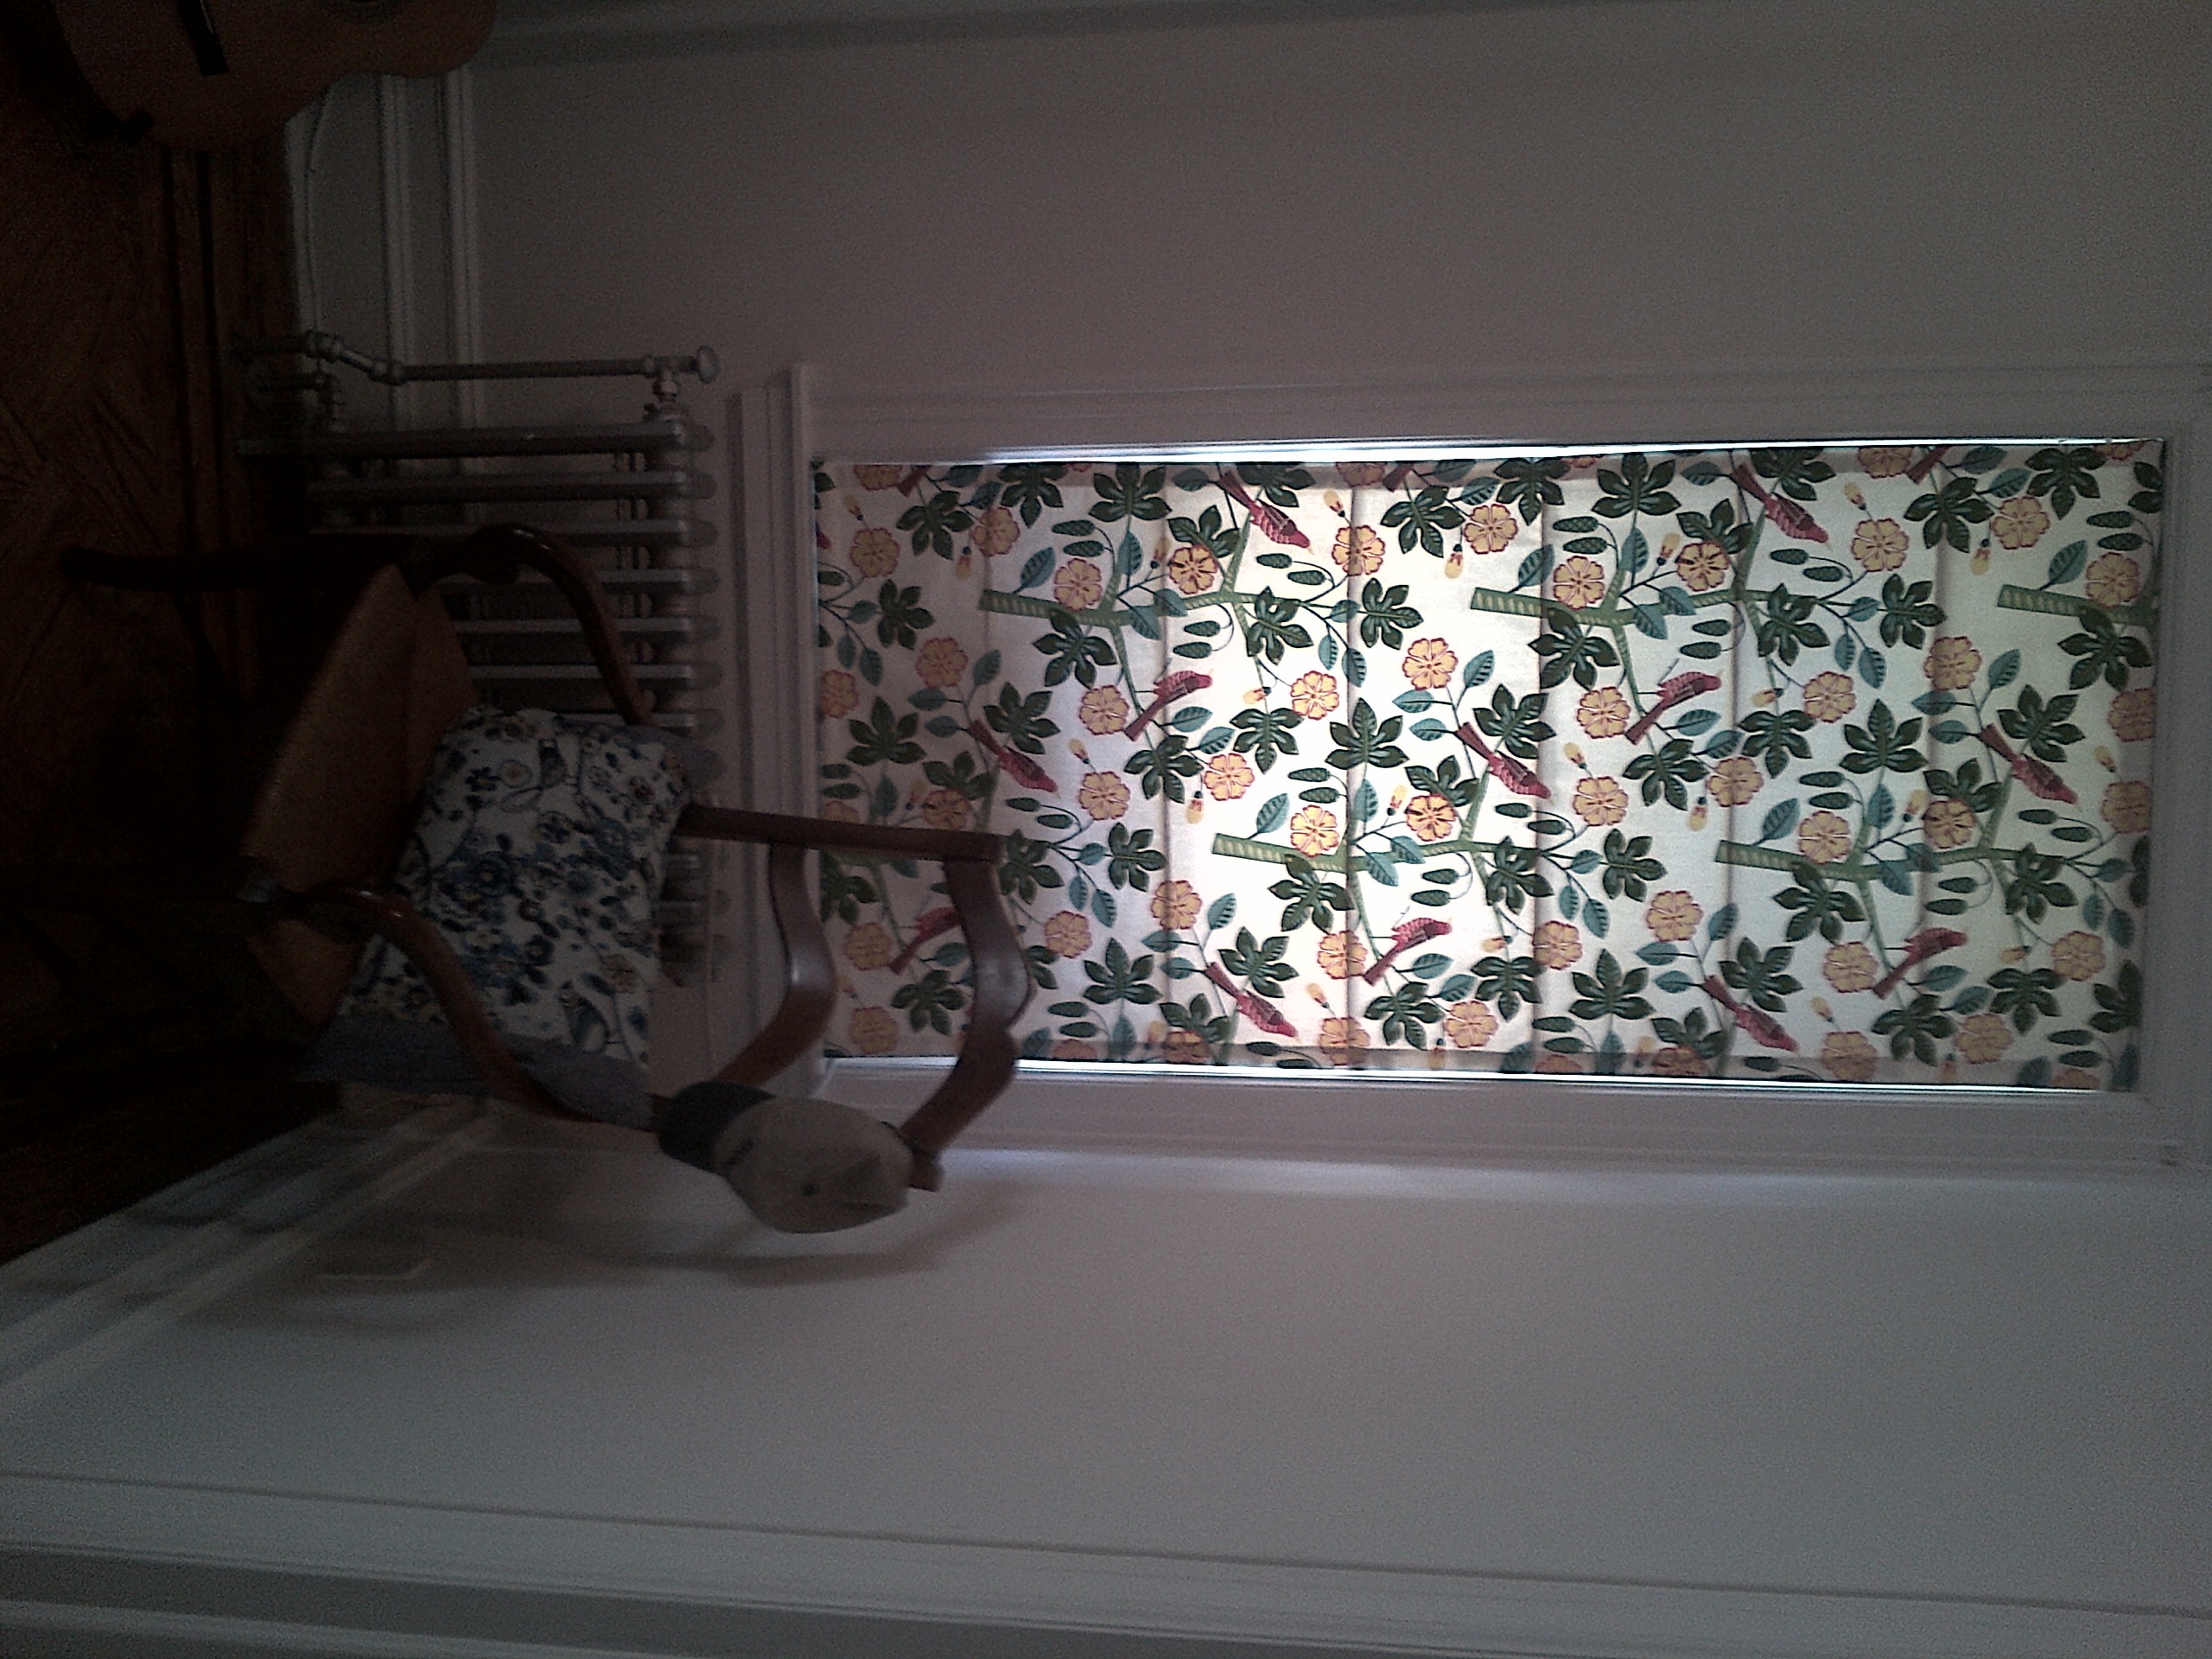
Oh, and the roman blind for the bedroom.

Anyway, all this is a very roundabout way of saying that my crafty fingers are starting to itch and I’ve spent all morning looking at fabrics and patterns for the bebe’s first birthday dress.

I haven’t quite found it but I did come across this collection of fabrics on Michael Miller Fabrics, which seemed quite serendipitous. (Let’s ignore what it says about the cliche of nesting mothers turning to craft in Park Slope!)

Parkslope_1

Stay tuned to see what dress and fabric I choose…

The bebe is too small for the print on this birthday dress on Made by Rae, but what a gorgeous thing:

Array

Read Full Post »

I made a roman blind. I did. And if I can do it, anyone can.

Like at the start of any DIY project, I looked at Pinterest. One roman blind is pretty much the same as another, although you do need to work out if you want the material to sit inside the window frame or over it.

Once you’ve got that sorted, you get to the fun bit – choosing the fabric and going to Home Depot.

I wanted something bold, bright and modern as the middle room of our railroad (our bedroom) can get a little dark, even though we do have a window.

I found my fabric on sale at Fabric.com. It’s called Small Talk Azalea and it’s by Waverley.

Here’s a picture of the H1B and the bebe buying the dowels:

IMAG0960

(Yes, that is a napkin around my daughter’s neck. It was used as a bib in Eataly, where we went for some impromptu wine, cheese and prosciutto before going to Home Depot. We didn’t realise she still had it on until we’d left the building.)

Then I hunted around for some good blogs for a how-to guide – like this one and this one.

I was really inspired by Ciburbanity – a blog that I love for DIY projects and the writer’s beautiful, made-from-scratch home.

Eventually I used this one – Hodge Podge by Markova Design – for its very clear instructions. Don’t be put off by the 35 (!) steps – the writer is deliberately over-persnickety in the instructions so there is no doubt about what to do.

Here’s the result:

IMG-20130504-00134 IMG-20130504-00135

I love the pop-y pink and the bright design that still looks a little classic, like Victorian screen-printed wallpaper perhaps.

Excuse the dreadful pictures – I’ll take some more when the sun comes out!


Read Full Post »

There’s no doubt about it; by Manhattan standards our 1,000 sq ft floor-through Brooklyn apartment is BIG. But we still only have one bedroom. So as soon as we found out about the junior (now six days over due), I was worrying about where to put the little thing.

The H1B maintained that babies have survived for centuries sleeping “in a drawer” but I was hoping for something a little more ceremonious for our first child.

One option was to convert our middle room (currently the TV/lounge) into a kid’s room but I didn’t want to lose any adult relaxing space plus it wouldn’t be practical as we’d constantly we walking through the area.

The best option was to try and corner off some space in our massive bedroom. But the question was how to also retain a semblance of privacy/personal space for all of us?

I stumbled across this brilliant one-bed solution on CasaSugar.com – of a rather clever conversion of a corner of a room using some dry wall stacked on to of an Ikea bookshelf unit, with funky curtains that can be drawn across to block out any light at night time.

You can see here how a clever friend of the couple used plasterboard and dry wall to make the room divider look like a proper wall. Clever, no?

Bingo! Except our high ceilings are waaay too tall for any attempts at using dry wall to make the box look like a proper room. It wasn’t within the H1B and my scope of DIY prowess and we didn’t want to have to pay someone to come in and do the work. Plus, we weren’t sure our landlord would go for it anyway.

But we stole the Ikea bookshelf idea and have create a nursery nook  behind the door.

I think it’s worked out pretty well. We can put up a curtain across the ‘entrance’ when the baby is a bit older and needs more dark to sleep. For now, I like it open for the airiness and access.

As a reminder, this is what the room looked like when we moved in:

Bedroom as it was when we moved in

And this is what it looks like now:

The bedroom

We tucked the ‘nursery nook’ behind the door to the right:

Showing room divider/Ikea shelves and crib with door to middle room open

The bookshelves provide loads of storage space for the baby’s clothes, nappies etc etc etc. I even labelled each basket with some cute mini chalkboards from Etsy in a bid to stay organised and avoid frenzied searches for matching tops and bottoms or favourite onesies.

Room divider and changing table

The quilted wall hanging was a project I was working on when I was clearly nesting and had loads of energy. I really wanted something to brighten up that big dark door (that goes through to the hallway but we don’t use except for moving large objects around – like the 9ft Christmas tree we had in December). It took me, like, forever on my rickety budget sewing machine from Target (a Singer Promise if you’re interested), but I think it really looks pretty.

The fabric is from Carousel Designs and I learned how to do the pinwheels and prairie points (I had no clue what they were called before I started either) from various YouTube videos and googling.

The tags for hanging can be easily removed so it becomes a quilt or playmat.

Quilted wall hanging I made to brighten up massive brown wooden door to hallway (not used)

Excuse the indulgence of a close up – but it did take me about a month to make

Read Full Post »

Two years ago I bought one of Emily Peacock‘s super cool tapestry designs. As with knitting, I do seem to like the buying of the craft packs and fantasising about how fabulous they’ll look at the end, rather than the actual process, but I must be nesting because I thought it’s time to pick it up again.

Taking Flight by Emily Peacock

Funny then that this morning I received an email with some of her new designs, based on mid-century graphics:

Sun by Emily Peacock

Flower by Emily Peacock

Bird by Emily Peacock

Cool aren’t they? Would make a great gift for a crafty-minded friend even if you don’t fancy cross stitching yourself. Unfortunately you can’t buy the made-up versions, darn it.

www.emilypeacock.com

Read Full Post »

Yarn Snobs

With all this time on my hands and our lack of immediate lack of cash flow, thanks to coughing up three month’s rent + bond + broker’s fees (which we will get back eventually), I thought I might revisit my love of knitting and make the H1B a scarf for Christmas.

I like knitting because it’s productive and meditative at the same time. You can do some pretty cool stuff with it. Patience is a bit of a problem (I like buying the wool and imagining the end result more than the actual knit-pearl-knit-oh-fuck-I’ve-dropped-a-stitch process) but one thing is for sure, it’s a time filler.

So I google some knitting shops and found a place in Soho – Purl One. Being Soho, it’s a beautifully laid out shop, with rows of the softest organic baby alpaca skeins (no polyester/acrylic mix here) and flickable art books created by people with much more skill and determination (and patience) than me.

However, being Soho, I also came across the interminable cooler-than-thou shop assistant. On looking at some exquisitely made up cable-knit scarves hanging behind the counter, I asked if they sold the patterns. “They are part of a kit,” drawled the shop assistant. Can I see them? “They are out the back and have 100% cashmere wool and are a hundred dollars so….” So, no then.

The experience reminded me of this great video on the terrific funnyordie.com – posted on facebook some weeks ago by my fellow writer-in-New-York friend Pip.

By the way, do go to Purl One. I’m sure the staff are friendly and helpful 99% of the time. Just don’t ask them silly questions five minutes before closing on a Thursday.

And ps – that dark-haired girl’s fringe in the video is completely amazing and so is her outfit. Expect me to look like that next summer.

Read Full Post »